How to Start a Campfire

Jennifer Caudill
As an instructor for the military and various federal agencies, I’ve honed my abilities in backcountry wilderness skills—and among those skills, one stands out prominently: starting a fire. In cold environments, the essence of survival boils down to thermoregulation. Your clothing and shelter form the first line of defense, shielding you from biting cold.
However, when the mercury drops further, a well-lit fire becomes indispensable, providing warmth even in the harshest conditions. Through this guide on how to start a campfire, I aim to teach the art of fire-starting and delve deeper into its intricacies, ensuring you can create a comforting blaze even in damp scenarios.
Table of Contents
The Foundation: Choosing Firewood
Tinder Gathering: Igniting the Spark
Wood Selection: The Sprinters and the Marathoners
Green or Seasoned: Making the Right Choice
Laying Techniques
Ignition and Growth
Extinguishing the Campfire: Respect the Fire
Shavings of loose bark from a cedar tree makes excellent tinder. Jennifer Caudill
The Foundation: Choosing Your Firewood
When learning how to start a campfire, know that wood is the lifeblood of any campfire. But not all wood is created equal. Depending on its size, shape, and type, wood possesses varying densities, translating to different energy outputs. When confronted with an assortment of wood, be discerning; different kinds have distinct roles in the fire-making process. I never pick wood that I am starting a fire with off of the ground. Wood lying directly on the ground will almost always have moisture on the side touching the ground. Look for branches hung up in the trees or from a tree that has fallen, and dead branches are stuck up in the air. This allows more sunlight and wind to contact those branches all around, translating into drier firewood that will make it easier to start a campfire.
Tinder Gathering: Igniting the Spark
Use your knife to create thin strips of tinder from a log. Jennifer Caudill
The other thing to know when learning how to start a campfire is that the first heartbeat of any fire lies in its tinder. Many might recall using newspapers to start a fire a backyard barbecue. Nature, too, offers its version of the newspaper. Tinder should comprise thin, layered materials, from delicate tree bark shavings to dried grasses. Crafting a tinder bundle is almost an art form—it’s about assembling dead organic materials, which can often be done without tools. However, when tinder is not readily available, you may need to create thin pieces of material using a stick and knife. (Check out our roundup of the best firestarters.)
Wood Selection: The Sprinters and the Marathoners
The author gathers a bundle of tinder for the fire. Jennifer Caudill
Softwoods, such as pine, juniper, cedar, spruce, and birch, are akin to sprinters, quick to ignite due to their less dense structure. This lack of density allows for ample oxygen, making them highly combustible. These woods are common in boreal forests but still less common in mixed hardwood forests and are identifiable by their year-round green needles or scales, indicating the presence of resin. This resin acts as a natural fire accelerator. One prime example is “fat” wood, where trees accumulate significant resin, especially at their bases or injury sites, providing an exceptional fire-starting source.
In contrast, hardwoods like oak, maple, and hickory are the marathoners. Their dense composition ensures they burn hot and steady, ideal for long, chilly nights.
Green or Seasoned: Making the Right Choice
While green wood, fresh and sappy, can be used in a pinch, its moisture-rich content often results in more smoke and sputter than flames. They’re not the best choice when learning how to start a campfire. On the other hand, seasoned wood dried for a minimum of six months is a fire-builder’s dream. With its moisture gone, it ignites easily, especially if stored in sunlit and windy areas. The sun and wind are great for naturally drying wood out.
Laying the Groundwork: Preparing the Site
Starting a fire requires more than just striking a match. The site preparation is pivotal. Since the earth can sap away heat, begin by carving a two-inch deep + into the ground. Place dry sticks over this design, offering a base while the carved trenches guide oxygen, fueling the fire from below. I call this a fire raft, which will look like a primitive raft but for fire instead of floating on water. In wilderness settings, clear an 8-foot radius around your fire spot. I often use a tree branch as a makeshift rake. Encircling your campfire lay site with stones provides a wind barrier and ensures the fire remains contained and controlled.
The author prepares a “fire raft” after carving a + in the ground. Jennifer Caudill
Campfire Laying Techniques
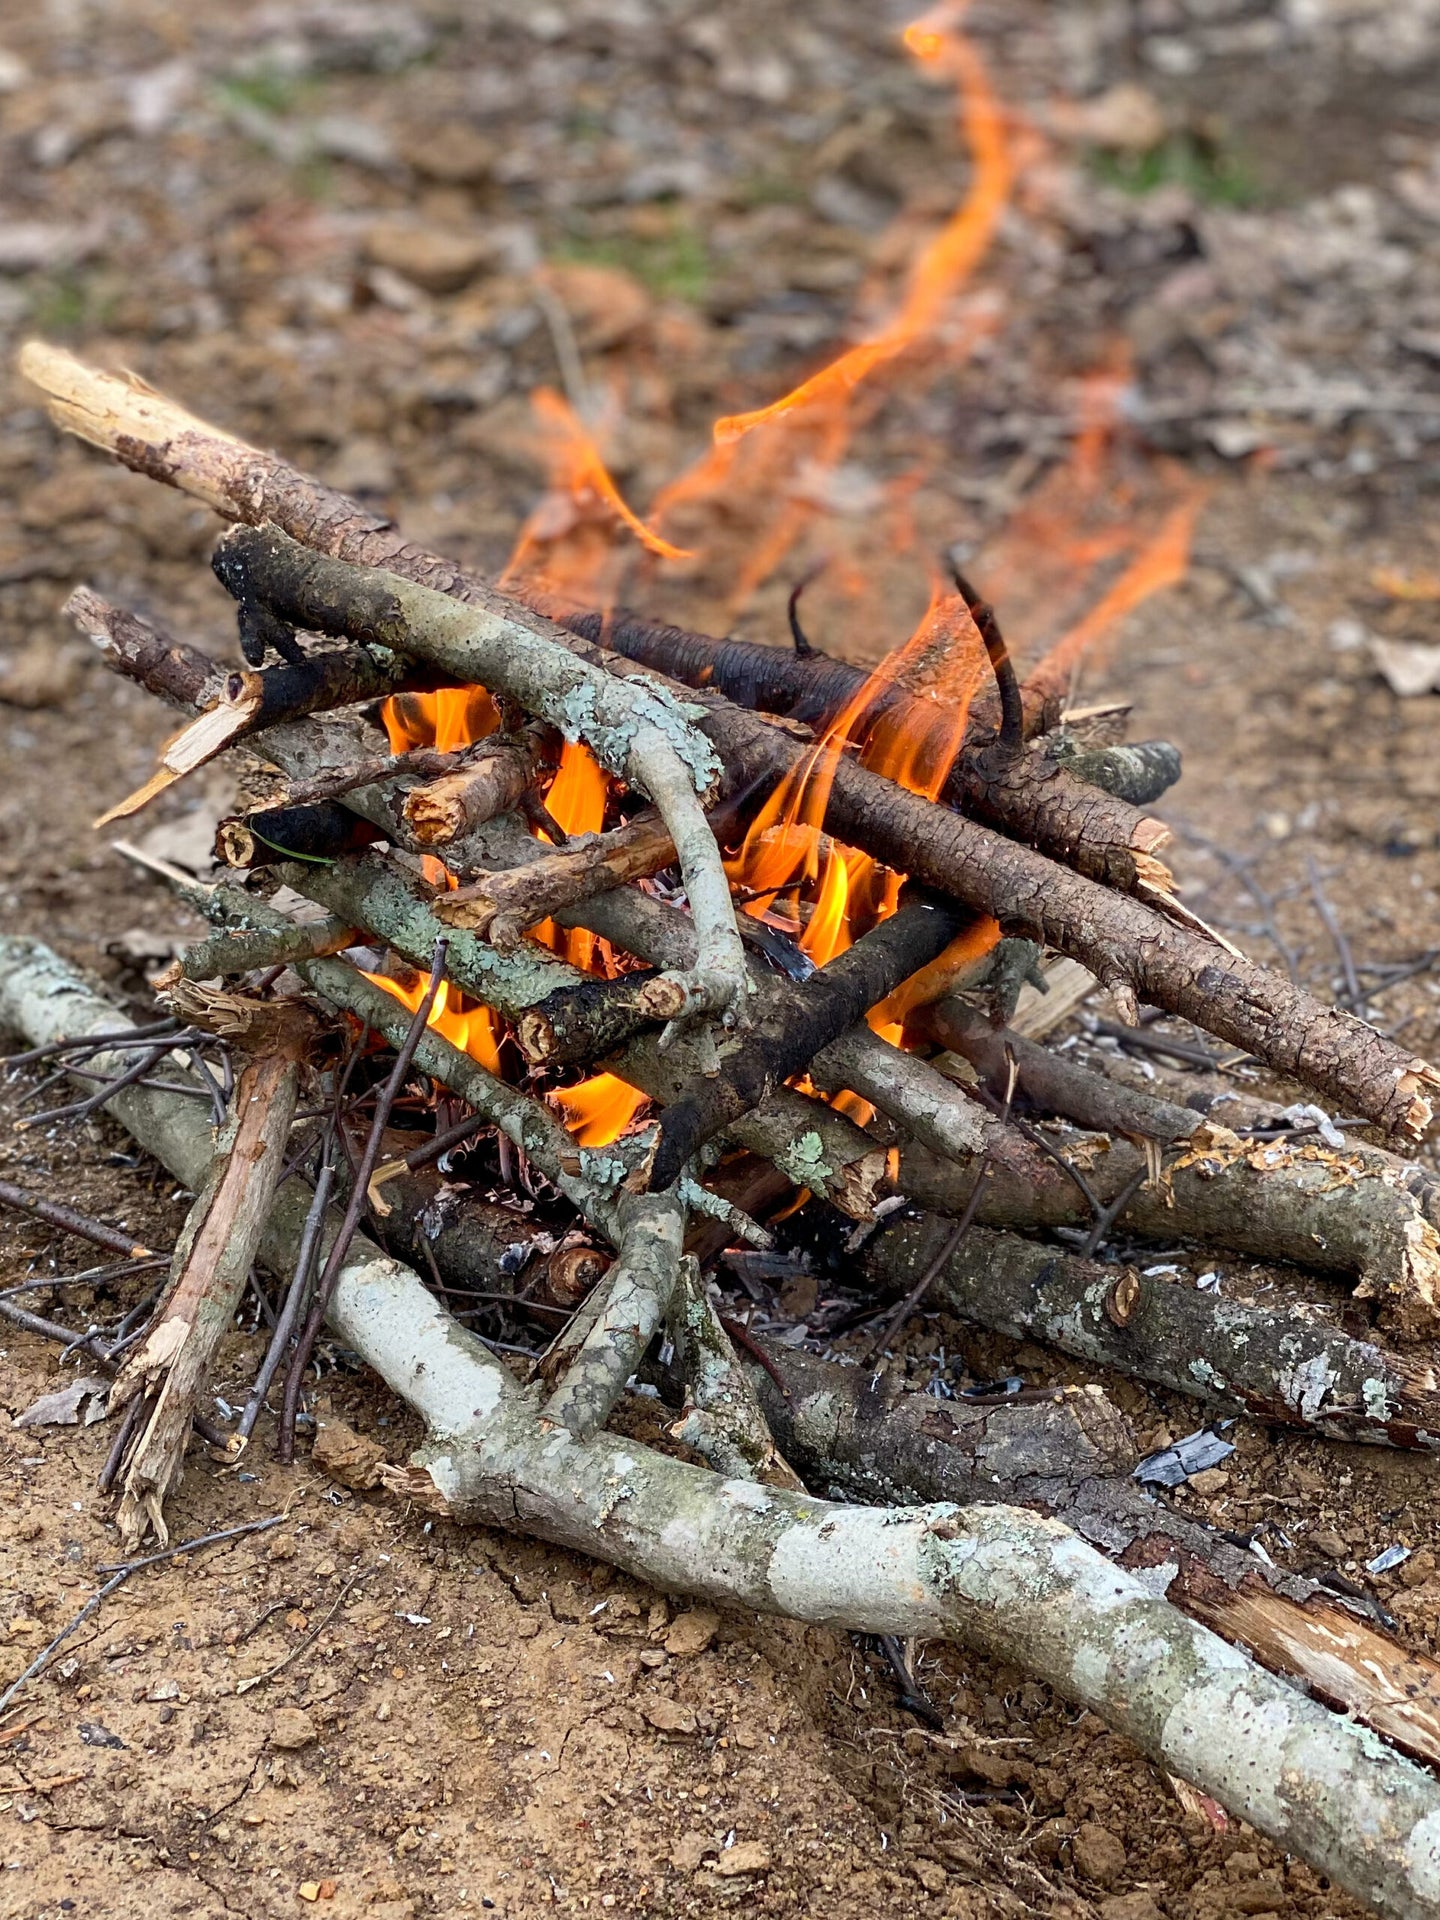
A teepee fire starts with a tinder in the center placed on top of the fire raft. Small kindling about the size of our smallest finger should be arranged in a cone shape with progressively larger logs placed outside. It’s the classic structure that allows airflow and a vertical burn. As I am sure you remember from 8th-grade science class, heat always rises, and we take advantage of science using this one.
This video shows how to make a log cabin fire.
A log cabin fire lays out like it sounds. Think of structure and layers. Start with a base layer of larger logs, then a perpendicular layer of slightly smaller logs, and repeat. Place your tinder and kindling in the center. This method promotes a longer-lasting, stable burn. It ends up looking more like a log cabin pyramid than anything else. It should end with sticks above the tinder bundle to take advantage of the rising heat. (You can also read our guide on how to build a log cabin council fire.)
TK Jennifer Caudill
Another setup when learning how to start a campfire is to place sticks on top of tinder in any random order. Just ensure that you have plenty of room between the sticks. It would be best to have plenty of oxygen to burn a fire; once it gets going, it will digest all the oxygen around it. Sticks that are too close together will starve it, and it will die.
Ignition and Growth
Look at one of your hands. We will use it to determine how we move forward with staring the campfire, and getting it growing. After developing a tinder bundle, gather a bundle of sticks the thickness of your pinky finger and smaller. Then, gather a bundle the thickness of your thumb. Then, gather a bundle of sticks the thickness of your wrist. Each of these bundles should be about the size of your pie plate. You want all your material laid out next to where the fire will be before ever starting your tinder.
The author blows into the flames to strengthen the fire. Jennifer Caudill
Light the tinder with your ignition source. If you are using a tinder bundle, I have already described how to place your tinder in the center of a teepee or log cabin, but there is also an alternative. If it is exceptionally wet or raining at the time, you will need to add lots of oxygen to the mix by blowing on damp material. You can do this by holding the bundle in your hand. Just ensure that you have the ignited portion of the bundle near the bottom so the heat rises and ignites the other material. Once your bundle is going, add trim and skinny sticks to it. Your pinky-size material should come in contact with the flames at this point. As each side of the stick gets ignited, add more and more giant sticks to get your fire to the desired size.
Extinguishing the Campfire: Respect the Fire
Now that you know how to start a campfire, let’s discuss extinguishing it. Starting and utilizing a fire ends when it is entirely out. Never leave a fire unattended; ensure it is 100-percent out before leaving it for good. When putting a fire out, water is your friend. Don’t just sprinkle; drench. Ensure every member, every last hint of red, is out. There are two ways you can judge if your fire is out:
Make a visual inspection of it. ou should see zero smoke or steam coming off of the fire. If there is either, there is still an opportunity for it to get going again. You can help by stirring soil into the water and firing leftovers. Spread out the coals to get plenty of water and soil on all parts of the fire.
The other method is to place the back of your hand on the pieces of fire left. Do not consider your fire out if you feel any heat or warmth. Leave only when confident of its coldness.
FAQs
What is the best fuel to start a fire?
Natural options include dry grass, pine needles, or birch bark. Cedar bark is excellent, but only pull the material hanging freely; you don’t want to damage the tree while getting it. For the modern camper, cotton balls soaked in petroleum jelly or commercial fire starters can be lifesavers. There are numerous fire starters you can purchase for backyard grilling. There is nothing wrong with putting a few of those in your camping kit to use on a fire build.
How much fuel do you need to start a fire?
About a handful. More isn’t always better. Too much tinder can choke itself out. I usually make a bundle about the size of a softball.
How do you make fire bundles?
Combine various fuel types, wrap them in thin, fibrous material, and tie them together with similar material. If you use material that is fine with lots of “hairs,” they will often interlock naturally by mashing it together. Just ensure you don’t get it too tight, or oxygen cannot get into it, and help the process.
What is the easiest fire-starting method?
While matches and lighters are the most convenient, ferrocerium strikers are efficient and waterproof. I prefer a Bic lighter because of its convenience. You can take some tea candles with your lighter as a fire starter. You can set the candle down and build the fire around it.
Final Thoughts on How to Start a Fire
Knowing how to start a fire is a combination of patience and action, between understanding the elements and harnessing them. There is nothing quite like sitting around a campfire. If you are solo, it gives you time for introspection as you watch the fire dance. If you are with others, stories will be told about the one that got away and much more. The key is to get out and do it. What are you waiting for?
The post How to Start a Campfire appeared first on Field & Stream.
Articles may contain affiliate links which enable us to share in the revenue of any purchases made.
